Document Scanning and Helpful Hints
imagize provides document scanning and helpful hints to all of our imagize customers to enhance their and streamline their scaning and data indexing experience. Whether you are scanning a small number of files or a room full of filing cabinets and boxes, the more you understand about the document scanning process, the more streamlined and productive you can become saving time and money over traditional scan and file naming processes. By utilizing the latest technology in document scanners and software and implementing a systematic, step-by-step process, you will be able to produce excellent results and ensure quality-control measures while preserving file integrity at a production-level capacity.
A successful document scanning process involves these three important steps:
- Document preparation
- Document scanning
- Document indexing
Learn more about some basic details and guidelines in each of these steps below.
Document Preparation
Today’s document scanners automatically feed and scan pages at the rate of 30-100 pages per minute! Without question, document preparation is the most important step in the document scanning process. If you are scanning documents that contain Post-it Notes or are folded or stapled, you are not utilizing the speed and efficiency of your high-speed scanner and image quality can be compromised. The time spent to prepare documents so they are staple-free and Post-it Notes have been correctly addressed by removing them or placing them on the backside of the page is time well spent. Preparing documents the right way will pave the path for an efficient and productive document scanning step.
Document Prep Hints:
- Remove ALL staples and paper clips
- Remove Post-it Notes are not covering important info
- Unfold folded corners and pages
- Place “document separator” sheets between different documents and files

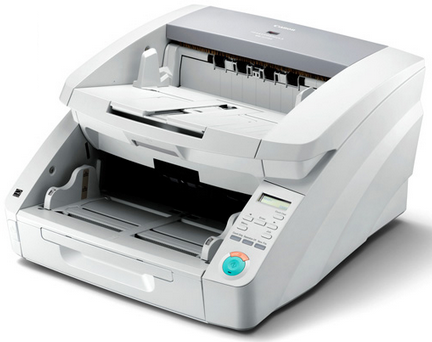
Document Scanning
Document scanning success begins with selecting the correct equipment for your backfile projects and ongoing scanning needs. You will want to select your scanner based on files you are scanning and what your scanning process is going to be. If your documents are 8.5″ x 11″ and smaller, single-sided and mostly black & white with an occasional color page required, there are numerous scanner makes and models available at a very affordable price. If you have pages that are up to 11″ x 17″ in size, are two-sided, and vary in thickness and color, there are business-grade scanners that will be perfect for your needs.
Also crucial is choosing a scanning software package that fits your scanning goals and process for image quality, auto-cropping and orientation, OCR (Optical Character Recognition) data capture, and batch scanning capabilities. If you have a simple process of scanning standard-size pages in black & white and name files manually, then you can get by with using a basic scanning software program usually included with the scanner. If your scanning needs become more complex, you will want to purchase a scanning software package used for production-scale scanning, which will capture data from the document and create key data values for indexing. This can be done using OCR or barcode capture to read zones of the pages that contain the index data. Images can also be automatically adjusted for many aspects including image quality, orientation, border cropping and de-skewing.
Document Scanning Hints:
- Select a scanner that suits your project
- Determine your daily volume
- Select scanning software that fits your needs
- Implement a systematic process
Document Indexing
Document indexing is typically the final step in the document scanning process, and equally as important as the first two. Document indexing allows you to match images with data for use in document imaging systems. If data exists in a database or file, images can be matched automatically saving a tremendous amount of time over manually naming the document. It is also advantageous to view the scanned image to verify the data being matched. When planning for document indexing it’s important to determine if you’re going to utilize OCR or barcode recognition for capturing data. Are the images and index file going into a document management system? Utilizing these helpful hints will improve accuracy and save you time.
Document Indexing
- Use OCR and barcode data capture to improve accuracy
- Scan at a 300 dpi image resolution if using OCR or barcode capture
- Database matching will populate additional fields and save time
- Use “sticky fields” for repetitive field values
- Format fields for field length and characters
- Consider all caps or case sensitive when naming
- Be consistent and eliminate symbols in titles


4951 W 77th St, Ste. 3
Edina, MN 55435
(877) 778-7173